


How to engrave glass: a quick guide to the HEXA rotary add-on
- Posted on
- Posted in accessories, branding, material: glass

With a rotary add-on you can engrave on a wide range of cylindrical objects. Discover how to use the HEXA rotary add-on to engrave a glass.
While there are numerous gift options available on the market, nothing compares to the personal touch and creativity of a handmade gift. Do you want to know how to make a practical gift that is also filled with heartfelt wishes? We have some fantastic ideas for you!
Ready to craft your own gifts with the 60 W HEXA laser cutter and its rotary add-on? We'll guide you from setup to execution, helping you create memorable, personalised presents. Let's start this creative journey!
The rotary extension
To enhance the creative experience for makers, we have developed rotary add-ons for our desktop CO2 laser cutters, allowing engraving on both conical and cylindrical objects. This opens up new possibilities for custom product creators to diversify their designs.
The setup of the rotary extension is simple, complemented by our user-friendly Beam Studio software. Our FLUX CO2 desktop laser cutters come with model-specific rotary add-ons, perfect for engraving on round objects.
Engraving glass
To demonstrate how the HEXA rotary add-on works, we will use a cylindrical glass. We will provide detailed instructions on how to use the rotary add-on, so you can easily follow along and learn.
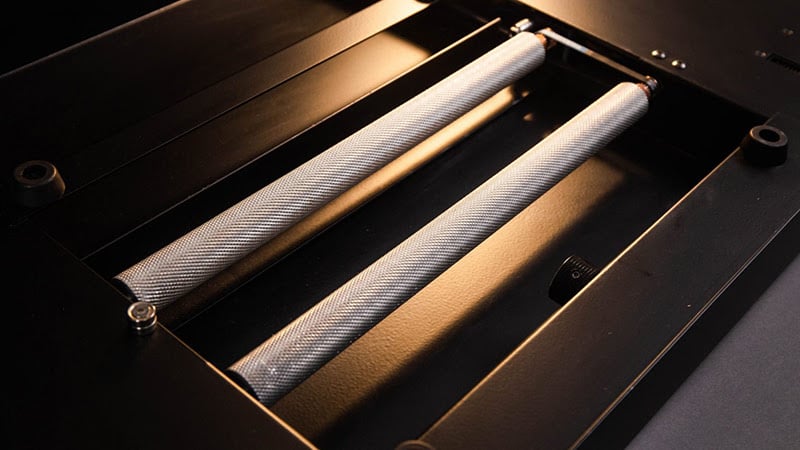
Step 1: rotary installation
Setting up the HEXA rotary add-on is an easy process. Just follow these steps for a quick installation:
- Start by powering off the machine.
- Remove the honeycomb grid inside the machine.
- Place the seats on the bracket.
- Set the rotary extension on the seat.
- Plug the cable into the socket at the back of the machine
Step 2: Beam Studio settings
Next, let's proceed to the software setup: Click on 'Edit' > Select 'Document Settings' > Activate the 'Rotary Extension' button under the expansion modules.
Once you've completed these steps, a blue alignment line appears in the Beam Studio interface to indicate a successful installation.
Step 3: camera preview & parameter settings
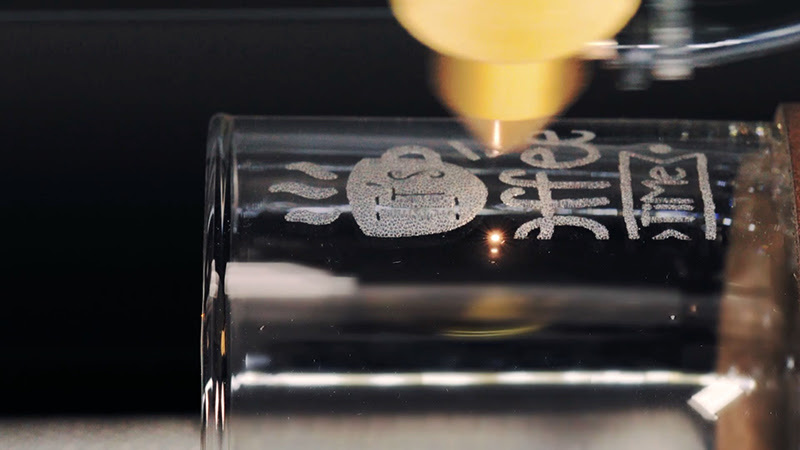
Place the material you wish to engrave on the rotary add-on and secure it using the knob. Then, in Beam Studio, select the camera icon at the top left for a camera preview. HEXA's camera lens captures the exact position of the engraving material, making it easy to position your design accurately on the glass.
Beam Studio offers a range of suggested parameters for different materials. After positioning your design, go to ‘Parameter Adjustment' in the toolbar on the right and choose ‘Glass – Engraving' to finalise your settings.
Step 4: start engraving
With the HEXA rotary add-on you can engrave items with a diameter of up to 7.5 cm and up to 60 cm in length. Whether you're looking to engrave cups or tumblers, the HEXA rotary add-on simplifies the process.
Its versatility extends beyond beer glasses, offering delicate and detailed engraving on items like wine glasses, ideal for unique wedding gifts. Trust the rotary add-on to produce gifts that are both high in value and rich in sentiment.
Impressed by the engraving possibilities of the rotary add-on? HEXA doesn't stop at glass!
It is capable of engraving on more than 100 different materials, offering a vast canvas to explore.
And it's not just our 60 W HEXA: FLUX's entire line of desktop CO2 laser cutters, including Beamo and Beambox (Pro), also feature their own rotary add-ons, significantly expanding your creative potential in laser engraving.